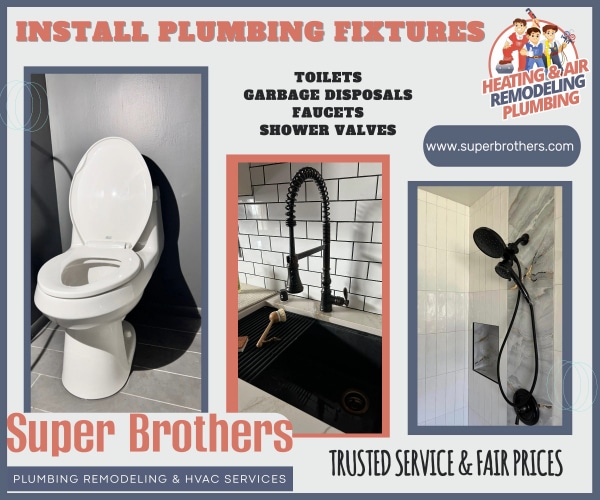
If your toilet consistently sounds like it is filling up with water even when it’s not in use, then it is likely that you have a running toilet. This means that your toilet is taking longer than usual to fill the tank back up with water. Not only does this sound annoying, but it is also a waste of water and worst of all a waste of money. A running toilet can be caused by several issues, but luckily, Super Brothers Plumbing is an expert in fixing this problem. We can guide you through the quick fix to stop your toilet from running. With our help and additional resources, we are confident that we can solve your problem. However, if the issue persists, we recommend seeking professional assistance.
Running toilets can be attributed to several common issues.
These include old age, malfunctions in the overflow tube, flush valve, or fill valve, as well as non-compatible parts. Expert plumbers all over the country have agreed that in most cases, a running toilet can be traced back to one of these three problems: A broken or dirty flapper, a chain that is the wrong length (too long or too short) between the flush lever and the flapper, or the incorrect positioning of a float. Either one of those three issues is the likely culprit of your running toilet. It should be mentioned that a broken toilet flapper also known as the flush valve is typically the cause of the issue in most toilets seeing as they do wear down over time and are often forgotten about by the time they need to be replaced.
Let’s get down to business and see what the main issues for your toilet could be. First things first, is safety and sanitation so we suggest wearing rubber gloves to protect your hands from touching anything they shouldn’t touch. The next step is crucial, the tank needs to be drained empty so we don’t make a mess of things. Then the water supply leading to the toilet needs to be shut off. In most common homes it will be a silver knob on the back of the wall behind the toilet and to shut it off just turn it to the right. Great! The basic steps are done and now we can move on to the diagnosing portion.
Let’s start with the first typical problem
the flapper. The flapper is the little rubber stopper that sits at the bottom of the tank and is usually a red or blue color. Since it is always sitting there at the bottom of the tank full of water it can get all dirty and grimey with mineral build-up which is why we suggest taking it out, inspecting it, and cleaning it. If it looks too worn down or broken in any way then toss it. It is fast and easy to go to a store near you to buy a new flapper. They typically come in a universal one-size-fits-all but if you are uncertain, take your stopper with you
to the store and ask a store associate to help you determine the right sizing. If it simply looks like it needs a good clean then simple water and soap will do the trick, but if you want to go the extra mile we do suggest letting it soak in some vinegar for a few minutes before placing it back. Once a new or cleaned flapper is ready just fit it back into place and attach it to the hooks that can be found near the pins on the overflow tube. Then proceed to turn the water back on to see if the flapper is functioning properly again. If not then we can proceed to the next possible culprit.
Occasionally, the flapper may become detached from the chain that connects it to the flush lever, which can be due to an improper chain length. The first step is to ensure that they are properly connected, and then check the length of the chain. A problem may arise if there is too much slack or if the chain is too short. If there is too much slack, it is advised to trim off the excess amount with wire cutters as it may impede the water flow. It is important to adjust the chain to the appropriate length because if it is too short, it will continuously pull up on the valve, causing water to drain constantly.
The last possible solution
we propose is inspecting the positioning of your float and fill valve. As you might have noticed the tank is always filled with water but it is important to have the correct amount of water filled in the tank. The water level is usually controlled by an adjustable float. You can determine the appropriate water level on a tank by looking for a fill mark on the back of the tank, it is typically 1 inch or 2.5 centimeters (1 in. or 2.5 cm.) below the overflow tube. Then try refilling it with water and testing it to see if it functions properly. If you are still having problems or need further assistance do not hesitate to call or visit our website where we always have a representative ready to help.