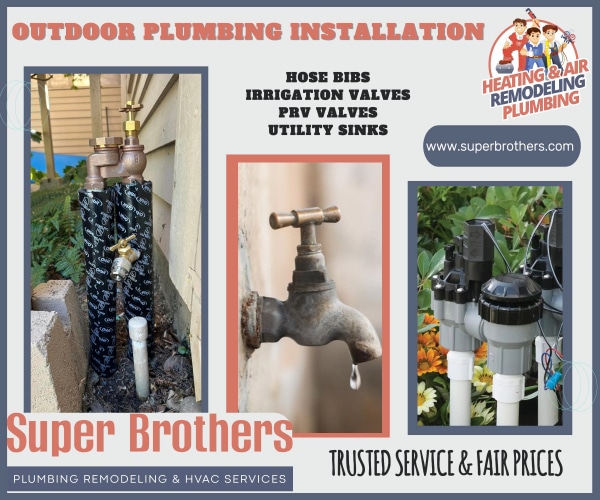
If you’ve noticed a leaking hose bib or a worn-out valve, it’s likely time for a replacement. Hose bibs, also known as outdoor faucets, are crucial for watering gardens, washing cars, and other outdoor tasks. Over time, these outdoor faucets can develop leaks or wear out, causing issues with water pressure and wasting water. This guide will walk you through everything you need to know about hose bib replacement, from identifying problems to installing new parts.
What Is a Hose Bib?
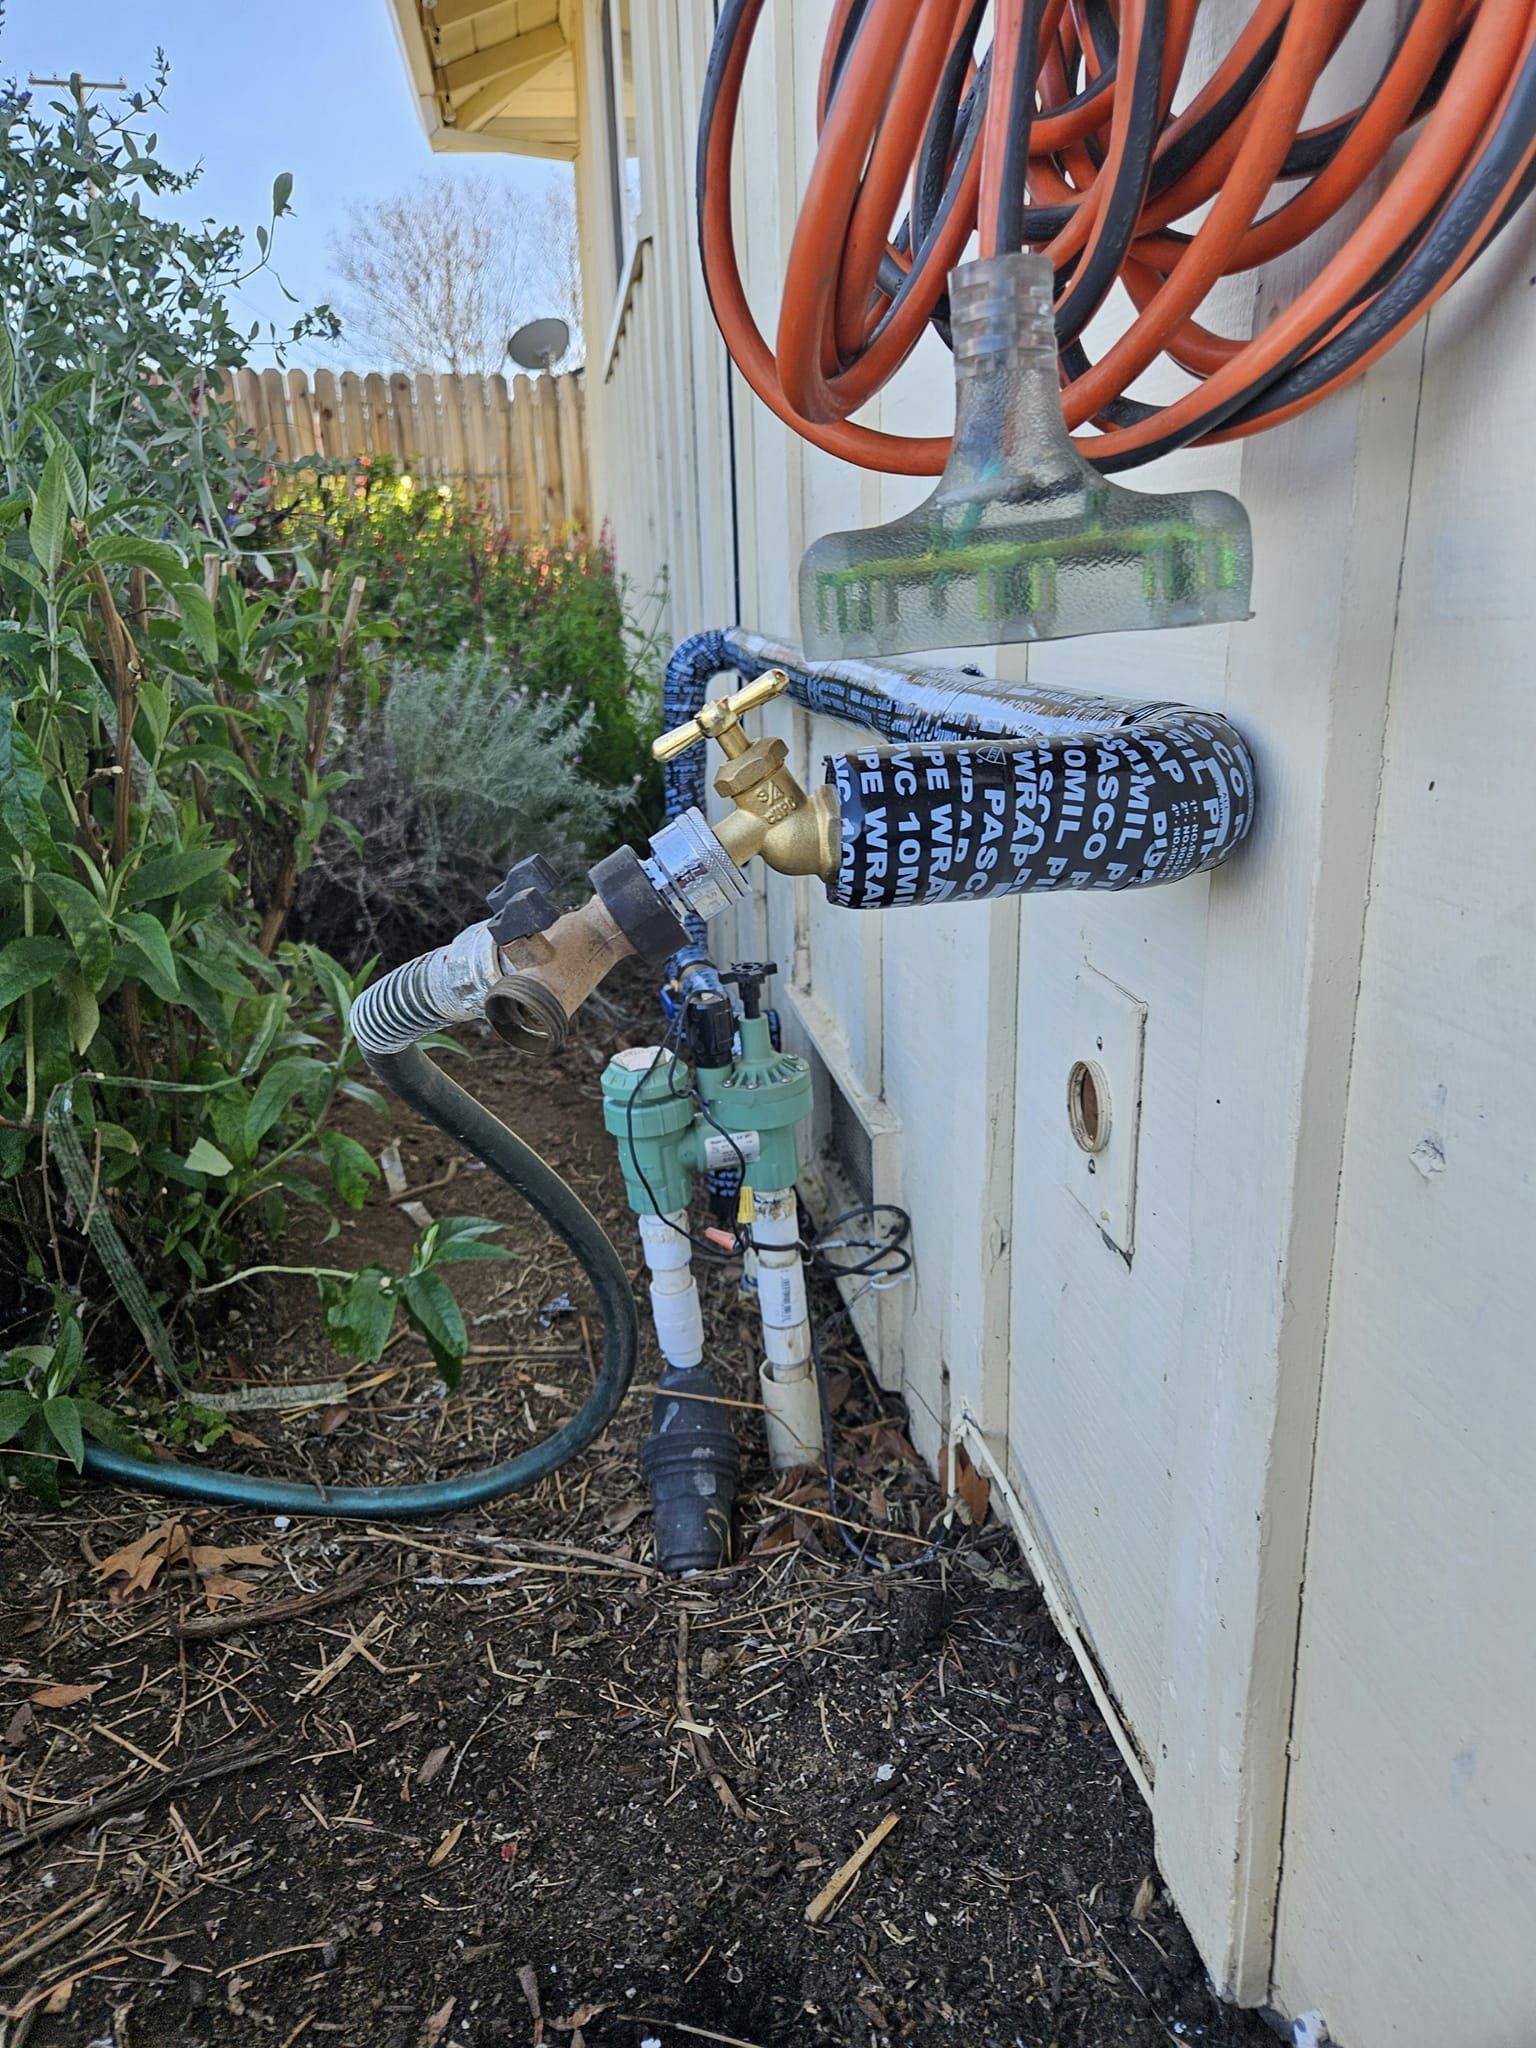
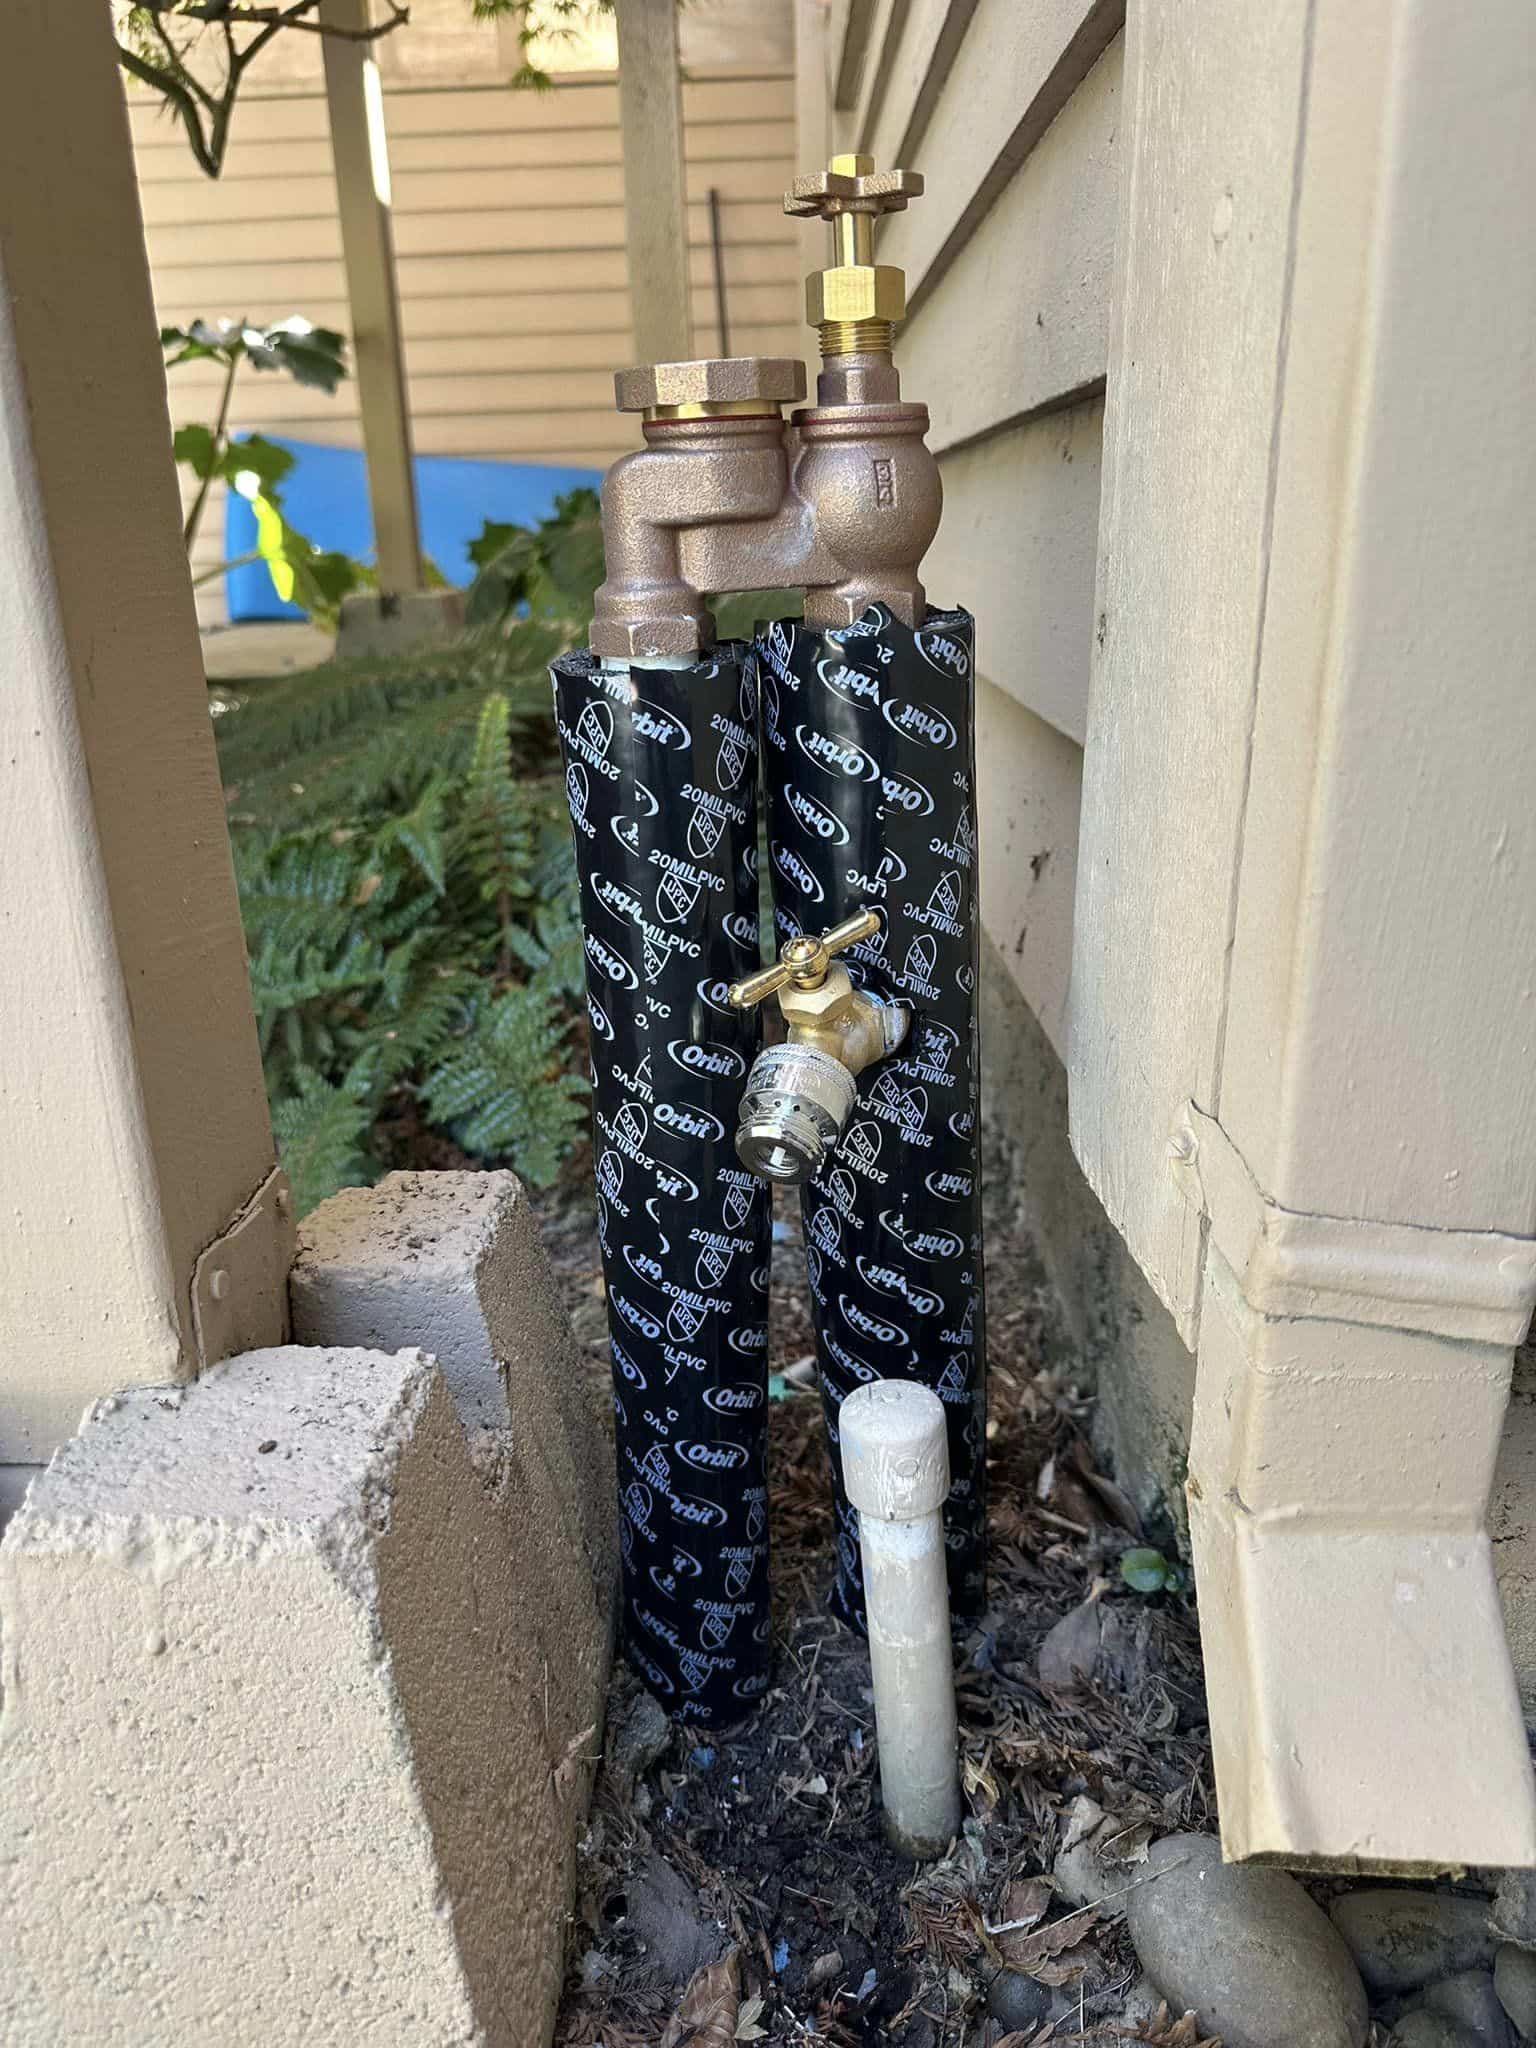
A hose bib is the outdoor faucet on your home where you attach a hose. It’s designed to withstand exposure to the elements, but over time, weather, usage, and wear can cause it to leak or stop working effectively. Replacing a hose bib or its parts can restore full functionality and prevent water damage to your home’s exterior.
Common Problems with Hose Bibs
- Leaking Hose Bib: A leaking hose bib is one of the most common issues homeowners face. The leak can come from several places: the handle, the base of the valve stem, or the connection to the water pipe.
- Worn-Out Valve Stem: The valve stem is a key part of the hose bib, responsible for regulating water flow. Over time, the washer on the stem can deteriorate, leading to drips and leaks.
- Frozen Pipes: In colder climates, freezing temperatures can cause the hose bib to crack or burst, leading to leaks when temperatures rise again.
Tools & Materials You’ll Need
Before starting your outdoor hose bib replacement project, gather the necessary tools and parts:
- Adjustable wrench
- Plumber’s tape (Teflon tape)
- New hose bib (if needed)
- Hose bib repair kit
- Replacement washers
- Pipe wrench (if necessary)
- Plumber’s putty (optional)
- Screwdriver
Step-by-Step Guide to Hose Bib Replacement
Replacing a leaking hose bib is easier than it might seem, but it does require some basic plumbing skills. Here’s a step-by-step guide to help you through the process:
Step 1: Turn Off the Water Supply
Before starting any work, it’s important to turn off the water supply to the outdoor faucet. Locate the shut-off valve inside your home that controls the water to the hose bib. If you can’t find a dedicated shut-off valve, you may need to turn off the main water supply to your home.
Step 2: Remove the Old Hose Bib
Using an adjustable wrench or pipe wrench, unscrew the hose bib from the water pipe. Be careful when applying pressure to avoid damaging the pipe itself. If the hose bib is stuck due to corrosion or debris, use a penetrating oil to loosen it up.
Step 3: Inspect the Pipe for Damage
Once the old hose bib is removed, take a moment to inspect the pipe. Look for signs of rust, corrosion, or cracks that could indicate damage. If the pipe is in poor condition, you may need to call a professional to replace the pipe before installing a new hose bib.
Step 4: Wrap the Threads with Plumber’s Tape
Before installing the new hose bib or hose bib parts, wrap the threads of the pipe with plumber’s tape (Teflon tape). This helps create a watertight seal when you screw on the new hose bib. Wrap the tape around the threads at least 3-4 times in a clockwise direction.
Step 5: Install the New Hose Bib
Carefully screw the new hose bib onto the pipe, turning it clockwise. Use the adjustable wrench to tighten the connection securely, but avoid over-tightening as this can damage the pipe or bib. Make sure the faucet handle is in the off position before turning the water supply back on.
Step 6: Turn the Water Back On
Once the new hose bib is securely in place, turn the water supply back on. Check for any leaks around the base or stem of the hose bib. If water is leaking from the threads, turn off the water and tighten the bib slightly. If leaks persist, consider adding more plumber’s tape.
Repairing a Leaking Hose Bib
If your hose bib isn’t completely worn out and you’re dealing with a minor leak, you may be able to fix it without a full replacement. Many hose bibs can be repaired by replacing small parts, such as washers or valve stems. You can find a hose bib repair kit at most hardware stores, which will include all the necessary hose bib parts for a basic repair.
Step 1: Shut Off the Water
As with replacement, the first step in any hose bib repair is shutting off the water supply.
Step 2: Remove the Handle
Use a screwdriver to remove the screw holding the faucet handle in place, then pull the handle off the valve stem.
Step 3: Remove the Packing Nut and Valve Stem
Once the handle is removed, use an adjustable wrench to unscrew the packing nut, which holds the valve stem in place. After removing the nut, carefully pull the valve stem out of the faucet body.
Step 4: Replace the Washer
At the end of the valve stem, you’ll find a small rubber washer. This washer is often the cause of a leaking hose bib. Replace the old washer with a new one from your hose bib repair kit.
Step 5: Reassemble the Hose Bib
Once the new washer is in place, reinsert the valve stem into the faucet body and secure it with the packing nut. Reattach the faucet handle with the screw.
Step 6: Test for Leaks
Turn the water supply back on and check for any leaks. If the hose bib is still leaking, the issue could be with the valve stem or packing nut. In this case, it may be time for a full water hose bib replacement.
When to Call a Professional
While many homeowners can handle a basic hose bib replacement or repair, some situations may require the help of a professional plumber. If you encounter any of the following issues, it’s best to contact a plumber experienced in plumber gas line installation or commercial gas line installation:
- The pipe is damaged or corroded.
- You can’t remove the old hose bib due to rust or corrosion.
- The water supply system is complex, and you’re not confident in your ability to shut off the water properly.
- You need to install a new hose bib where none currently exists.
Choosing the Right Hose Bib Parts
If you’re replacing or repairing your hose bib, it’s important to select the right parts for the job. Many hose bibs are made from brass, which is durable and resistant to corrosion. When purchasing a new hose bib or hose bib repair kit, ensure the materials are suitable for outdoor use and will withstand exposure to the elements.
Frost-Free Hose Bibs
In colder climates, consider installing a frost-free hose bib. This type of hose bib has an extended valve stem that prevents water from freezing inside the pipe, reducing the risk of burst pipes during the winter months.
Conclusion
Replacing or repairing a hose bib is a manageable task that can help you avoid water waste and potential damage to your home’s exterior. Whether you’re tackling a full outdoor hose bib replacement or simply fixing a leaking hose bib, the key is using the right tools, parts, and techniques. If you’re not comfortable doing the work yourself, don’t hesitate to contact a professional plumber for assistance.