Repiping your home is a major project that, when done correctly, ensures a reliable, efficient, and long-lasting plumbing system. Whether you’re dealing with old, corroded pipes or simply looking to upgrade, the repiping process requires careful planning and expert execution. Here, we’ll walk you through the major steps involved in a repiping installation to give you a clear understanding of what to expect and how it can benefit your home.
Major Steps in a Repiping Installation
A successful repiping installation requires more than just replacing pipes. It’s a detailed process that involves careful planning, skilled workmanship, and multiple stages to ensure everything is done right. Below are the key steps involved in the process.
1. Site Inspection
The first step in any repiping project is a site inspection. This is crucial for understanding the scope of the work and the layout of the existing plumbing system. During the inspection, the contractor will assess the condition of the current pipes, determine which ones need to be replaced, and evaluate any other components like faucets and drains that may need attention.
The inspection is also an opportunity for the contractor to discuss the project in detail with the homeowner, outlining what will be included in the repiping job and answering any questions. They will also identify whether any additional work, like drain replacements or faucet upgrades, will be necessary during the repiping process.
A thorough site inspection helps ensure that the project runs smoothly and without surprises, saving time and avoiding unnecessary complications down the line.
2. System Layout Planning
Once the site inspection is complete, the contractor will move on to creating a system layout for the new pipes. This involves planning the precise placement of the new pipes and any other necessary components to optimize the plumbing system’s efficiency and performance.
At this stage, materials for the project are also ordered, including pipes, fittings, and any additional parts needed for the installation. By carefully planning the layout and gathering all necessary materials upfront, the installation process can proceed efficiently, with minimal delays.
3. Preparation
Before the actual repiping begins, site preparation is necessary. This step involves clearing out and cleaning the areas where the new pipes will be installed. In many cases, this means removing furniture, covering surfaces, and ensuring easy access to areas around toilets, sinks, showers, and other plumbing fixtures.
The contractor will also inform the homeowner of any additional preparations that need to be made, such as removing fragile items from rooms that will be affected by the installation. Proper preparation helps minimize mess and disruption during the installation process. 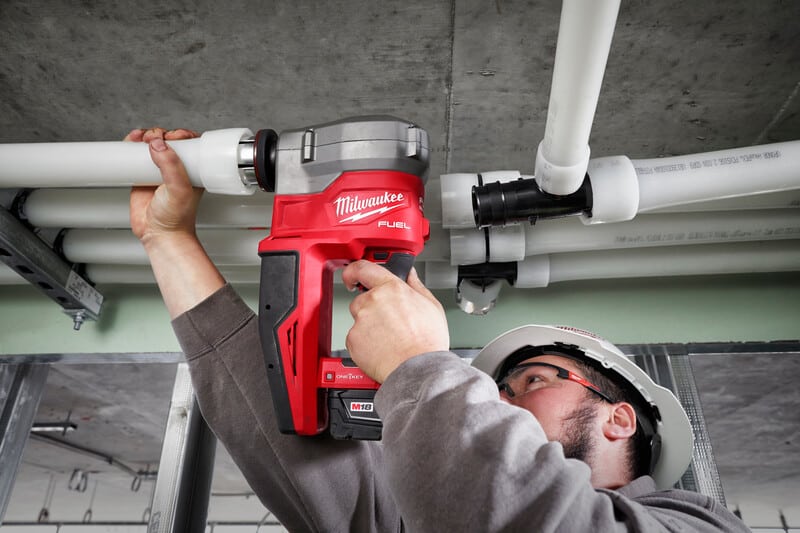
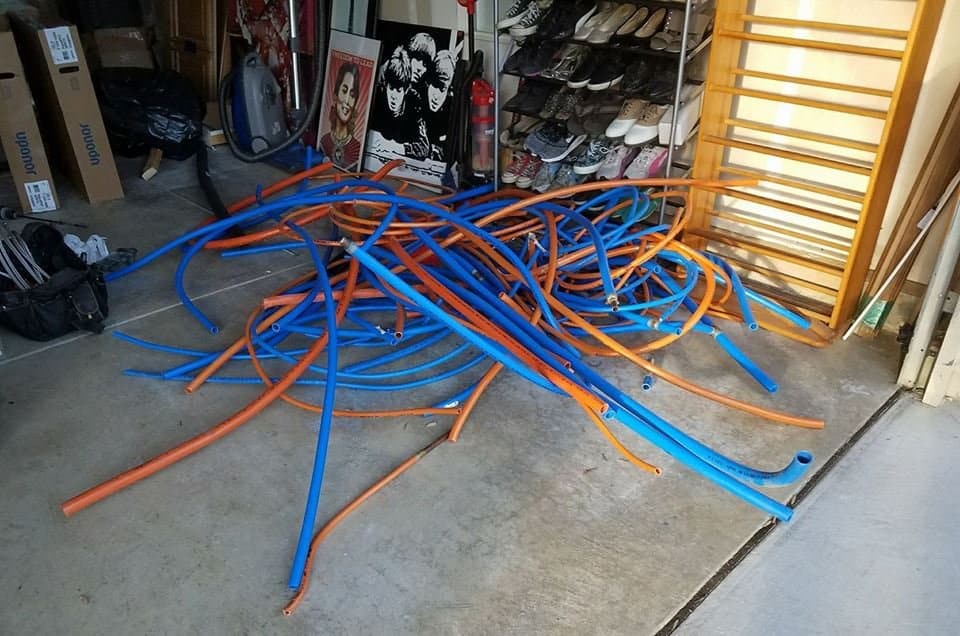
4. Installation of the New Repiping System
The actual installation is the most critical step in the process, and it’s important to have qualified professionals handle this stage. During the installation, the old pipes are removed, and the new pipes are installed according to the pre-determined system layout. This requires expertise to ensure that the new plumbing system is both efficient and safe.
The contractor will use the latest tools and materials, such as PEX or copper piping, which are durable and resistant to corrosion. Depending on the size and complexity of the project, the installation can take a few days, but it’s essential that every pipe is installed properly to prevent future leaks or issues.
5. Testing and Performance Check
Once the installation is complete, the new system must be tested for functionality. The contractor will run water through the new pipes and check for any leaks, pressure problems, or issues with water flow. If any adjustments are necessary, they will be made at this stage to ensure the system is performing as expected.
This performance check ensures that the newly installed pipes are working properly, providing the homeowner with a reliable and efficient plumbing system. It’s an essential step to confirm that the installation has been successful and that no further issues will arise.
6. Wall Repair and Clean-Up
During the repiping process, contractors often need to cut into walls, floors, or ceilings to access and replace pipes. After the plumbing work is done, the contractor will repair any holes or damage caused during the installation. This includes patching drywall, repainting, and restoring any areas that were disturbed.
Once the walls are repaired, the contractor will also ensure that the job site is cleaned up. This means removing any debris, dust, or leftover materials from the repiping process, leaving your home clean and restored.
7. Final Walk-Through and Inspection
The last step of a repiping installation is the final walk-through and inspection. After the installation is complete and the site has been cleaned, the contractor will walk through the home with the homeowner to explain the new system. This is an important step because it allows the homeowner to ask any final questions and gain a full understanding of their new plumbing setup.
During this walk-through, the contractor will also ensure that the installation meets the homeowner’s standards. This final inspection helps guarantee that everything has been completed correctly and that the homeowner is satisfied with the work.
Why Proper Repiping Installation Matters
A properly installed repiping system is essential for maintaining a safe and efficient plumbing system in your home. Skipping steps or cutting corners during the installation process can lead to leaks, low water pressure, and even significant water damage over time. By following the above steps and working with a qualified professional, homeowners can enjoy the following benefits:
- Improved Water Pressure: New pipes allow for better water flow, meaning stronger water pressure throughout the home.
- Enhanced Water Quality: Replacing old, corroded pipes improves the taste and cleanliness of your water.
- Leak Prevention: Proper installation reduces the risk of leaks, saving you from costly repairs down the line.
- Increased Home Value: Upgrading to a new plumbing system adds value to your home, making it more appealing to potential buyers.
Conclusion
Repiping your home is a significant investment, but when done correctly, it provides long-term benefits, including improved water flow, better water quality, and fewer plumbing issues. From site inspection to system installation and final testing, every step in the repiping process requires careful attention to detail to ensure success.
If you’re considering repiping your home, choosing experienced professionals is crucial. Super Brothers is dedicated to providing high-quality repiping services that ensure a safe, efficient, and durable plumbing system for your home. Contact Super Brothers today for expert guidance and a seamless installation process.