PEX TUBING – Tools and installation practices
Topics:
– PEX tools
– Tubing installation practices
PEX tools
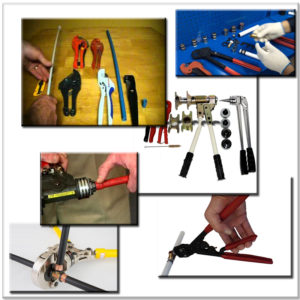
Whether you are a DIY working on small repair or a professional engaged on large project, there are several available tools. Each tool utilizes a specific set of fittings and rings compatible to that tool.
PEX CLAMP STANDARD
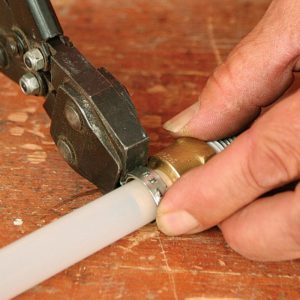
The most simple and most commonly used by DIYs is the PEX CLAMP STANDARD, this system is also popular with professionals in certain areas of the US. Clamp tool is compatible with crimp fittings and utilizes SS clamps to secure a connection. This is most easiest system to use and the most economical.
PEX CRIMPING STANDARD
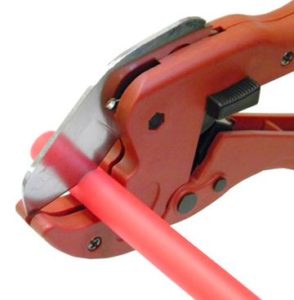
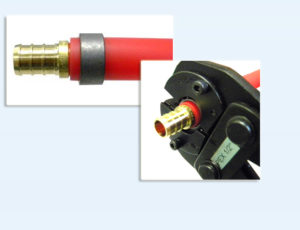
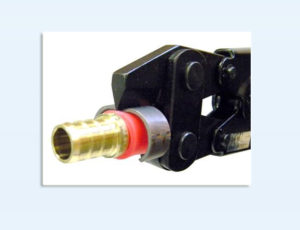
To work with PEX tubing using the CRIMPING STANDARD, three basic tools are needed: the main crimping tool(s), a pipe cutter, and a de-crimping tool.
The pipe cutter is used to make a clean, square cut before inserting the tubing into the fitting.
The main crimping tool can be purchased in several configurations from various vendors. One popular model has the capability to crimp either 1/2″ or 3/4″ PEX tube, while another uses interchangeable crimp heads to work with any of the PEX tube sizes.
A de-crimping tool is designed to remove the copper crimp ring from the tube and fitting. Various designs all work by cutting the copper ring. Fittings can be easily re-used.
Other available tools, mostly used by professionals in the United States are expander tool and press tool.
PEX attachment tools
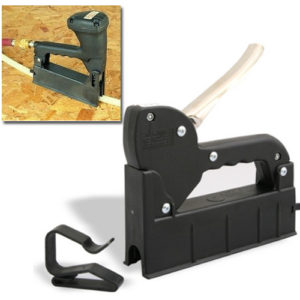
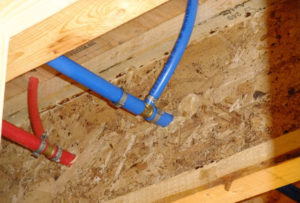
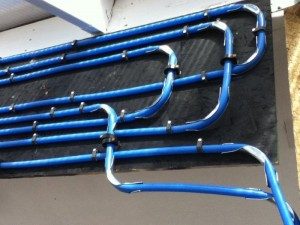
PEX to wood attachment tools are used to attach PEX Tubing to wood. Manual or pneumatic clip guns are used to secure PEX Tubing to the surface. These types of installation are common in plumbing and radiant heat systems.
Foam Staplers can be used to secure tubing to foam board or tarp insulation (polystyrene, styrofoam, polyurethane etc). Foam Staplers utilize plastic foam staples and are compatible with PEX ranging in size from 3/8 up to 5/8 inches.
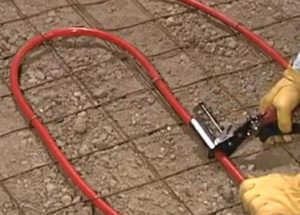
PEX to wire tool quickly attaches PEX tubing to wire mesh for PEX plumbing and radiant heat applications.
Tubing installation practices
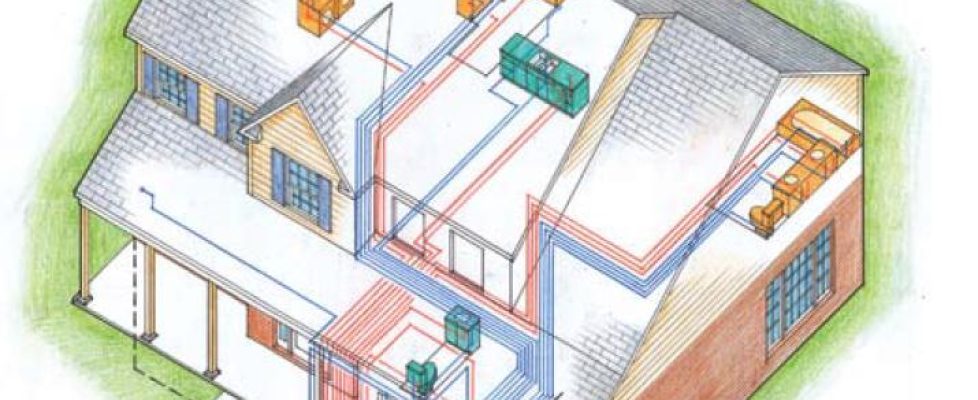
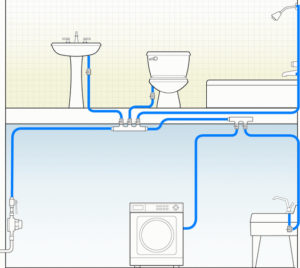
There are several types of PEX plumbing systems: Trunk and Branch, Home-Run and Remote Manifold.
Trunk and Branch (T&B) is performed using a main trunk line to supply various branch take-offs to specific outlets. It utilizes tees to branch tubing.
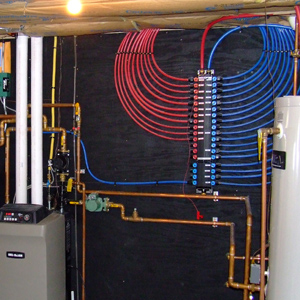
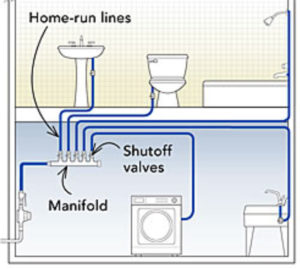
Home – Run systems utilizes use of manifolds. Fixtures are fed from dedicated piping that runs directly and unbroken from central manifolds.
Remote Manifold system is running hot and cold lines to some location in close proximity to multiple fixtures (e.g. bathroom group). At this point a smaller remote manifold is installed on each trunk line.
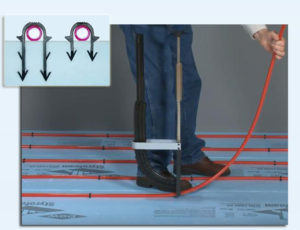
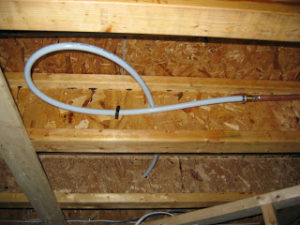
Don’t pull it tight. PEX expands and contracts more than copper, so don’t stretch it tight. Let it droop a little between fasteners. On long runs, it’s a good idea to install expansion / contraction loop as shown to allow for contraction. Another advantage of the loop is that if you mess up and need a little extra tubing, you can steal it from the loop.
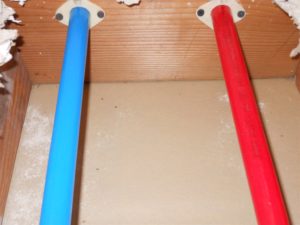
Also, since PEX moves as it expands and contracts, make sure to drill oversize holes through studs or joists so it can slide easily or use rigid sleeve.
Use plastic hangers and straps, but metal supports which are designed for use with plastic tubing can be used.
If you are going to bury tubes in a wall or ceiling, prepare trench bottom to be solid with no hollows, lumps, rocks that could damage the tubing.
Solder copper transition fittings onto the copper pipe and allow cooling before connecting to PEX tubing.
