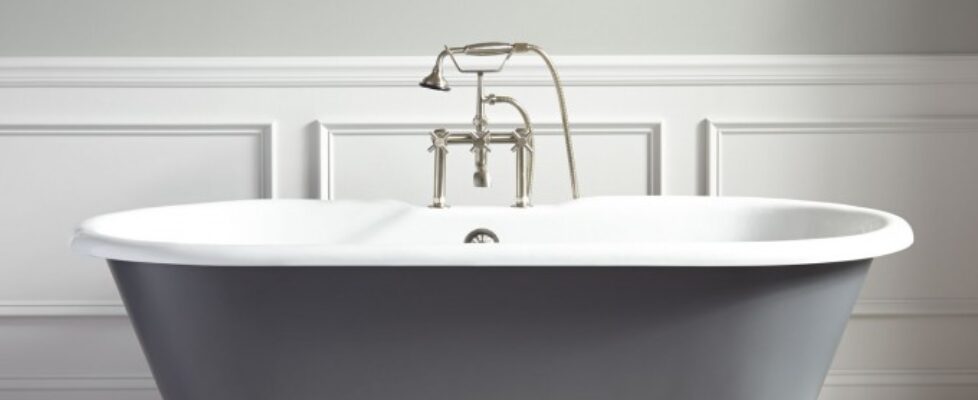
Anatomy of a Bathtub and How to Install a Replacement
Replacing a bathtub can seem like a daunting task, but with proper preparation and understanding of the process, it becomes manageable. Whether you’re upgrading for aesthetics or functionality, knowing the anatomy of a bathtub and the steps to remove and install a replacement is essential. Here’s a comprehensive guide to help you through the process.
Understanding Bathtub Anatomy
Bathtubs come in various shapes, sizes, and materials. Before purchasing a replacement, it’s crucial to measure the space and consider the following components:
Key Components of a Bathtub:
- Apron: The front-facing side of the tub visible after installation.
- Drain: Located on either the left or right side, depending on your plumbing setup.
- Overflow Tube: Prevents water from spilling over by channeling it into the drain.
- Flange: The edge of the tub that attaches to the wall studs for stability.
- Material: Bathtubs are commonly made from acrylic, fiberglass, cast iron, or steel, each with unique properties affecting durability and weight.
Pro Tip: Ensure your replacement bathtub matches the dimensions and drain orientation of the old one to avoid extensive modifications.
Removing an Old Bathtub
Preparation Steps:
- Turn Off the Water: Shut off the water supply and open a faucet below the tub level to drain the supply lines.
- Ensure Space: Confirm the tub can fit through the doorway. If the tub is too large, additional steps, like breaking it down, may be necessary.
Steps for Different Tub Types:
- Cast Iron Tubs: Use a sledgehammer to break down the heavy material for easier removal. Wear protective gear, including goggles, gloves, and ear protection.
- Acrylic and Fiberglass Tubs: These are lighter but more fragile. Avoid damaging the material by handling it carefully during removal.
- Built-In Tubs: Disconnect the piping, remove surrounding tiles or walls if necessary, and slide the tub out.
- Freestanding Tubs: These are typically the easiest to remove since they are not attached to walls.
Pro Tip: For all types, inspect the plumbing for leaks or damage before installing the new tub.
Installing a Replacement Bathtub
Choosing the Right Bathtub
- Match Dimensions: Ensure the new bathtub fits seamlessly into the old space.
- Drain Location: Choose a tub with the drain on the same side as your previous one to avoid replumbing.
- Style: Opt for an apron-style tub for easier installation and access.
Tools and Materials Needed:
- Measuring tape
- Level
- Cement backer board
- Fiber glass batts (for insulation)
- Plumber’s putty
- Screws and screwdriver
- Needle-nose pliers
Installation Steps:
- Prepare the Area:
- Install cement backer board under tiles for moisture protection.
- Insulate around the tub using fiberglass batts to retain heat longer.
- Install the Ledger Board:
- Measure and mark the location of the bathtub ledger.
- Attach the ledger board securely to support the tub.
- Set Up the Plumbing:
- Dry-fit the drain and water supply pipes to ensure proper alignment.
- Install the rubber gasket on the overflow tube and attach it to the tub.
- Apply plumber’s putty around the drain flange and secure the drain to the tubing.
- Connect the Stopper Mechanism:
- Use needle-nose pliers to attach the stopper chain to the stopper.
- Secure it with the fittings provided.
- Place the Bathtub:
- Carefully lift and position the bathtub in the designated space.
- Insert the drain and water pipe assembly into the drain hole.
- Nail the flange to the wall studs and check that the tub is level.
- Finish the Surrounding Walls:
- Reinstall tiles or other wall materials around the tub.
- Seal gaps with caulk to prevent water damage.
Pro Tip: Always follow the manufacturer’s installation instructions for your specific bathtub model to ensure proper setup.
Tips for a Smooth Installation Process
- Read the Instructions: Most manufacturers provide detailed installation guides. Review them thoroughly before starting.
- Inspect Plumbing: Check for leaks or damage in the existing plumbing system and address issues before installation.
- Work with a Partner: Bathtubs can be heavy and difficult to maneuver. Having a second pair of hands makes the process safer and easier.
- Test for Stability: Once installed, ensure the tub is secure and level before sealing the area.
Benefits of Proper Bathtub Installation
- Enhanced Comfort: A well-installed bathtub offers a relaxing and functional space for daily use.
- Increased Home Value: Upgrading your bathtub improves your bathroom’s aesthetics and boosts property value.
- Prevention of Water Damage: Proper sealing and alignment protect your home from leaks and mold.
- Energy Efficiency: Insulating around the tub helps retain heat longer, reducing water heating costs.
Conclusion
Installing a new bathtub requires careful planning and attention to detail, from selecting the right model to ensuring proper plumbing connections. By following the steps outlined above, you can replace your old tub with confidence and enjoy a functional, comfortable bathroom for years to come.
For professional bathtub installation or plumbing services, contact Super Brothers Plumbing Heating and Air. Our skilled technicians ensure a seamless installation process, saving you time and effort. Let us help you upgrade your bathroom with ease!


